Pages

Saturday, 15 February 2014

Hanging Heart Ornament

I know it's been a very long time but since I started my new job back in October I haven't had much time for crafting. I vowed to make an effort this year though and so far I've done more crafting in these first few months than I think I have throughout the whole of last year!

I'm not going to be posting that often but I hope to post more than I have been, mainly when I'm really pleased with particular projects, not just about every single card I've made, I think that probably gets tiresome for some of my readers. I know I don't have that many, but I'd like to keep those that I've got.

So today I want to bring you my favourite project so far this year, I'm already starting to explore a lot of crafts outside working with paper, including learning to crochet (I can only make flowers and little hearts at the moment) and creating items for around my home.

This hanging heart ornament was a simple project to make but it was also a lot of fun and it's totes adorable, wouldn't you agree?

I used very simple and easy steps to make this decoration, and I've laid them out below in pictures for you if you'd like to give it a go yourself.

Basically, my sister gave me a wooden heart she'd picked up in Hobbycraft and said I could do what I wanted with it.

I wasn't sure what I wanted to do at first so I started to browse Pinterest and came across this star and that's when I knew what I wanted to do with it.

I picked up some assorted buttons and paper flowers next time I was in Hobbycraft because I didn't actually have a button stash yet (I have a whole jar full of them now...) and I raided the family craft stash for some organza ribbon (gathering the "ingredients" should always be step one).

I started the actual project by painting the whole heart in one pale base colour of minty green (this was step two), so that any gaps left by the buttons wouldn't look out of place and then I started gluing. PVA is perfect for buttons on wood, just dab a bit onto the back of the button and stick it in place, it'll hold fine so you won't need a fancy glue gun or anything like that to make these. I kept sticking buttons on until the whole heart was covered (step three), varying the sizes and colours and gluing some over others to add a bit more dimension.

Then, to add my personal flare and finish it off, I got some paper blooms wet and scrunched them up, left them to dry and then carefully unfolded them so they had a nice, worn texture. I layered them up with PVA glue and added a pearl to the centre of each before gluing them to the heart. I created a loop with the ribbon by folding it in half, threading it through the metal hoop and tying the ends around the loop at the base, then tying the ends into a bow to make it all pretty.

List Of Products:
Assorted Buttons: £1.00 per bag - Hobbycraft
Dovecraft Paper Blooms pack of 30: £1.50 per bag - Hobbycraft
Wooden Heart: £5.00 for 3 - Hobbycraft
Acrylic Paint
PVA Glue
Organza Ribbon


Sunday, 15 September 2013

What A Wonderful Wedding!

Hi everyone! So, just over a week ago, two of my closest friends got married!!! The ceremony was beautiful but by no means "ordinary". It was perfect for the bride and groom though. Suited them to a T.


This lovely couple have been together for what seems like forever, and I honestly don't think there is a more perfect match out there. So I am over the moon for them.

Of course since it was a special occasion, I had to make them a special card and I decided to keep it nice and simple and hope the end result was quite elegant.

I had some bride and groom 3D stickers that were just about perfect for the job and decided to make them stand out on contrasting black and white backgrounds.

I was really pleased with how it turned out, since it wasn't over the top but to me it seemed just classy enough.

In other news, the craft fair I sold at was the day after this particular wedding. It was a miserable day weather-wise and my sister and I had the only stall there, so it wasn't exactly bustling. My sister had a much larger success than I did, but I had a success all the same, so I was happy with that.

It also prompted me to finally open my Etsy store where you can find all of my clay jewellery up for sale!

There are still loads of items I need to add to the store, like my beaded bracelets and a few cards but here's a small selection of some of the pendants I have to offer.

I've always had a small obsession with flowers and I love to draw them and create pretty things with them.
I had to look up some flowers to get inspiration for some of these, but my favourites are the violets. Although I adore the poppies too!

I also have cherry blossoms and Forget-me-nots available.

I know I said I wasn't going to showcase more than one project per post, but things have been pretty hectic lately so this is kind of a catch-up.

Anyway, I hope you like everything! Until next time!


Sunday, 1 September 2013

Working hard or hardly working?

Hello again everyone, don't worry, I'm not hardly working, I am working hard.

I went back to the day job after a week off due to my little op and there's been a lot to do! But I've also been working hard getting things ready for the craft fair next week, if you want more details please visit my Facebook page.

I've not just been making cards either (although I have been focusing on making cards, as you can see, because I don't have very many of them to sell yet), I've been making lots of elasticated bracelets and I've even been playing with clay! My hopes are that I will finally be able to open my Etsy shop and make Beckit's Boutique a reality in the next few weeks. So I've also ordered some pretty business cards that I designed myself and some more supplies to create new stock, ready for my grand opening.

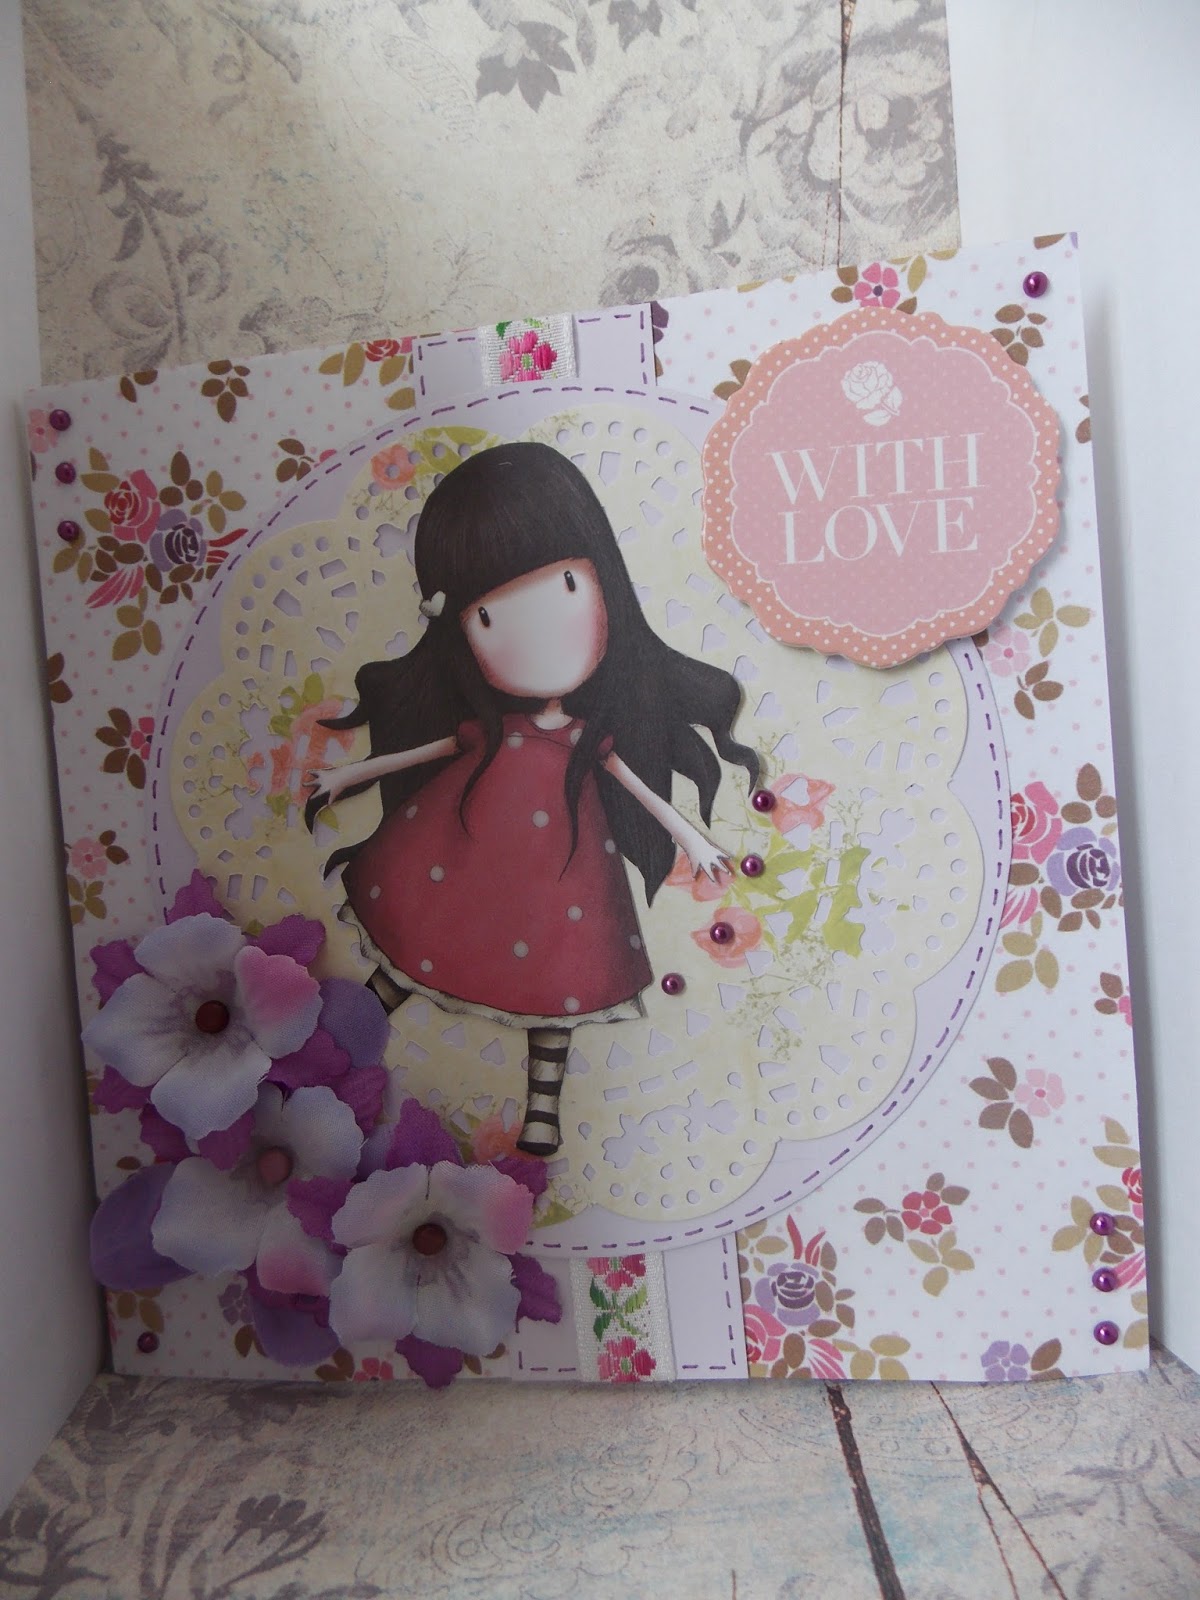
I'm currently struggling to price my cards ready for my stall , although the hardest thing to do was to create toppers, since I don't have many ready-made ones, I've used several techniques, like cutting images from patterned papers like my congratulations card in this post, among others.

At least I've got a way to display them now, all I have left to figure out is how I'm going to display my bracelets and clay creations, although I've had some ideas.

I'm really looking forward to next Saturday now, I think it's probably going to be a lot of fun, even if I don't manage to sell much; it'll still be a nice day out in town with my mum and my sister, and I don't get those very often anymore with the work I do. So I can't wait!

Until next time!